
")
PFSK151 LCD终端微控制器提供适当的输入电压
¥4,779.00
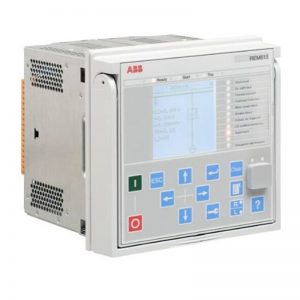
 宝贝型号: PFSK151
 原产国家:美国 法国 德国 爱沙尼亚 挪威 英国
 交货货期:现货
 产品状态:停产
 售后服务:全新质保一年
 产品名称:模块/控制器/伺服器


 保修期:12个月/365天
 产品包装:卖家提供完备且安全保护包装
 运费:根据当地货运代理的不同,应以不同地区的运费为准。
 是否包含关税:不包含任何税费
 请联系我:13822101417 张工
 外贸官网:www.abbgedcs.com
 电子邮箱:sauldcsplc@gmail.com
 Whatsapp: +86 13822101417

Description
PFSK151构建可视信号器的第一步是连接PLC单元。帮助构建这个Arduino-OpenPLC项目的电气线路图如下图5所示。
接线图最初与中讨论的相同介绍性OpenPLC文章除了三个附加电阻。
这些新电阻用于为PFSK151内核和LCD终端微控制器提供适当的输入电压。我们的两个HMI终端都由ESP32微控制器供电,用于处理I/O控制信号,这些引脚只能承受高达+3.3伏的电压。因此,为了防止Arduino损坏ESP32微控制器的GPIO引脚,额外的电阻电路提供2.5 v控制信号,以便与处理器芯片安全配合工作。
The first step in building a visual signal for PFSK151 is to connect the PLC unit. Help build the electrical circuit diagram for this Arduino OpenPLC project as shown in Figure 5.
The wiring diagram was originally the same as the introductory OpenPLC article discussed in, except for three additional resistors.
These new resistors are used to provide appropriate input voltage for the PFSK151 core and LCD terminal microcontroller. Both of our HMI terminals are powered by the ESP32 microcontroller for processing I/O control signals, and these pins can only withstand voltages up to+3.3 volts. Therefore, in order to prevent Arduino from damaging the GPIO pins of the ESP32 microcontroller, an additional resistor circuit provides a 2.5V control signal for safe operation with the processor chip.


Reviews
There are no reviews yet.